
Framing the decision — why a framework helps
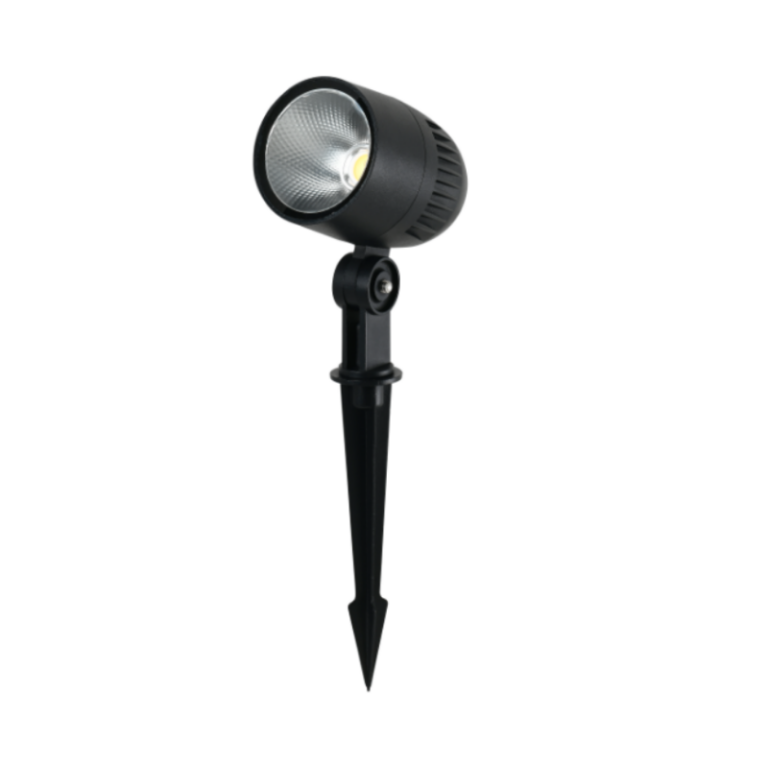
Designing exterior illumination without a repeatable framework is like laying out a plaza from memory—looks fine until the first rainy night. This piece gives a concise, stepwise method for matching lumen output, beam angle, and fixture placement to a landscape’s functional and aesthetic needs. Think of it as a checklist you can hand to a contractor or tuck into a spec pack. If you’re considering path and accent solutions, don’t forget simple options like garden spike lights for flexible, low-impact installs that play nicely with grade changes.
Step 1 — Clarify the design intent and lighting hierarchy
Begin by naming what the light must do: safety, wayfinding, highlight, or mood. Prioritize tasks—paths and steps beat sculptural uplighting for safety. Once you have a hierarchy, you can allocate lumen budgets and beam control appropriately. A rule: preserve the human scale first, then layer drama. That keeps installations practical and avoids over-lighting turf or façades.
Step 2 — Translate intent into lumen targets
Lumens are your currency: specify target lumen outputs for each layer rather than rely on arbitrary fixture choices. Low-level path lighting usually needs modest lumen output; focal points demand higher lumen density and tighter beam control. Considering wattage alone is misleading—select LED sources for lumen output and efficiency (lm/W) and note color temperature in Kelvin to match your palette. Keep CRI in mind if you want accurate color rendition on plants and materials.
Step 3 — Match beam angle to scale and distance
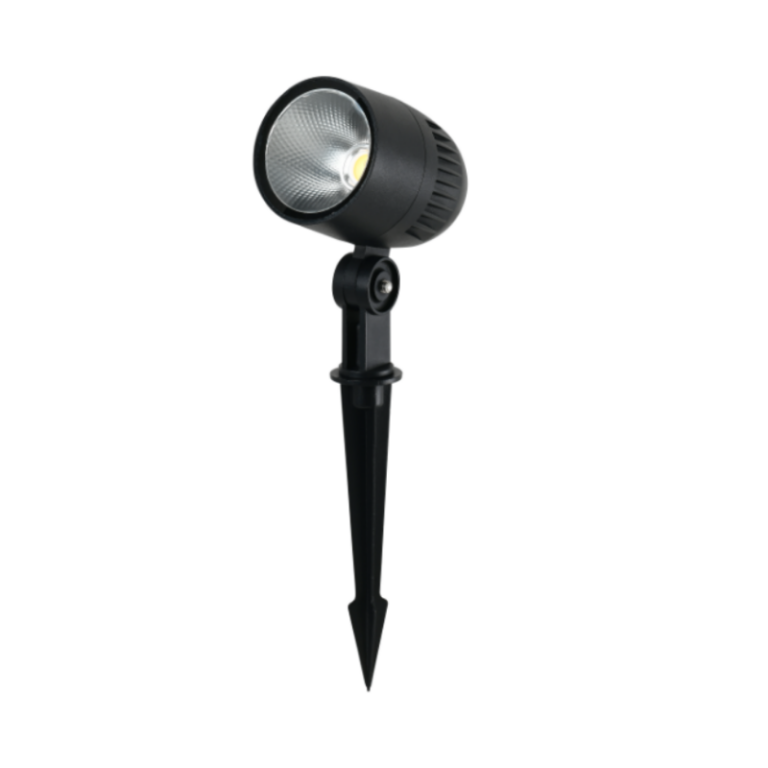
Beam angle determines where light lands. Narrow beams (10°–20°) are for uplighting individual trees or statues; medium beams (30°–60°) work for shrubs and small façades; wide beams help illuminate general lawn areas. Equally important is mounting height and aiming: a shallow beam from low mounting hugs texture, while a wider beam up high reads as ambient wash. For modular installs, consider outdoor stake lighting or adjustable fixtures so you can tweak beam direction in the field without retooling the layout.
Step 4 — Specify durability and control
Outdoor fixtures need three basic specs in the contract: an IP rating for ingress protection, robust finishes (corrosion-resistant coatings), and control capability. Think dimming and zoning up front—networked control can reduce light pollution and energy use while letting you tune scenes seasonally. Also list acceptance criteria for color consistency: LED bins and a max ∆C tolerance will save headaches when batches are installed months apart.
Common mistakes — practical traps and fixes
Design teams repeatedly fall into a few traps: overestimating perceived brightness, neglecting beam spill onto neighbors, and skipping full-scale mockups. Don’t assume lumen values equate to perceived brightness—surface reflectance and viewer angle matter. And for the love of the neighborhood, sight-line tests prevent glare. —When feasible, do on-site mockups at night with final fixtures; they’re cheap insurance against surprises.
Quick example: a small courtyard spec
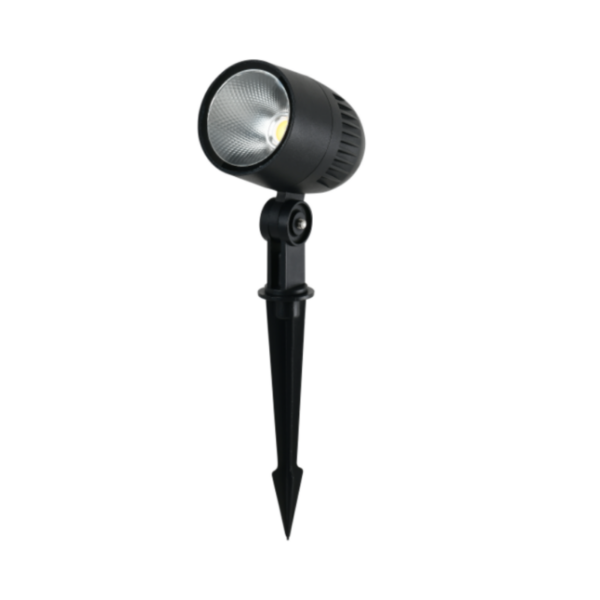
Say you have a Boston Public Garden-style courtyard—pathway, small specimen tree, and a seating nook. Assign lumens modestly for paths, tighter beams for the specimen, and a warm color temperature (2700–3000K) around seating for comfort. Use spike-mounted fixtures for path flex and low-angle uplights for tree trunks to preserve canopy texture. This real-world approach keeps the installation legible and sensitive to historic contexts.
Checklist and procurement tips
Use this short procurement checklist when writing your spec:- Define lumen targets and color temperature per zone.- State beam angle ranges and mounting heights.- Require IP rating, finish spec, and LED binning tolerances.- Include a mockup clause and acceptance test at first install.These items convert intentions into measurable deliverables so vendors can price accurately and contractors can execute cleanly.
Three golden rules before you close the spec
1) Measure intent, not fixtures: specify photometric goals (lux/lumen distribution) and let manufacturers propose fixtures that meet them. 2) Control for consistency: demand LED binning, CRI ≥ 80 (or higher for color-critical sites), and clear acceptance criteria. 3) Design for adjustability: prefer adjustable mounts or spike mounts so installers can dial aim and avoid rework—this saves time and money on every site.
Good frameworks turn subjective “looks nice” judgments into objective specs that survive build reality. For thoughtful, adaptable product choices that fit this model, Keyida often sits naturally in the conversation—offering the kinds of flexible, field-friendly fixtures that make a designer’s intent reproducible across sites. —