
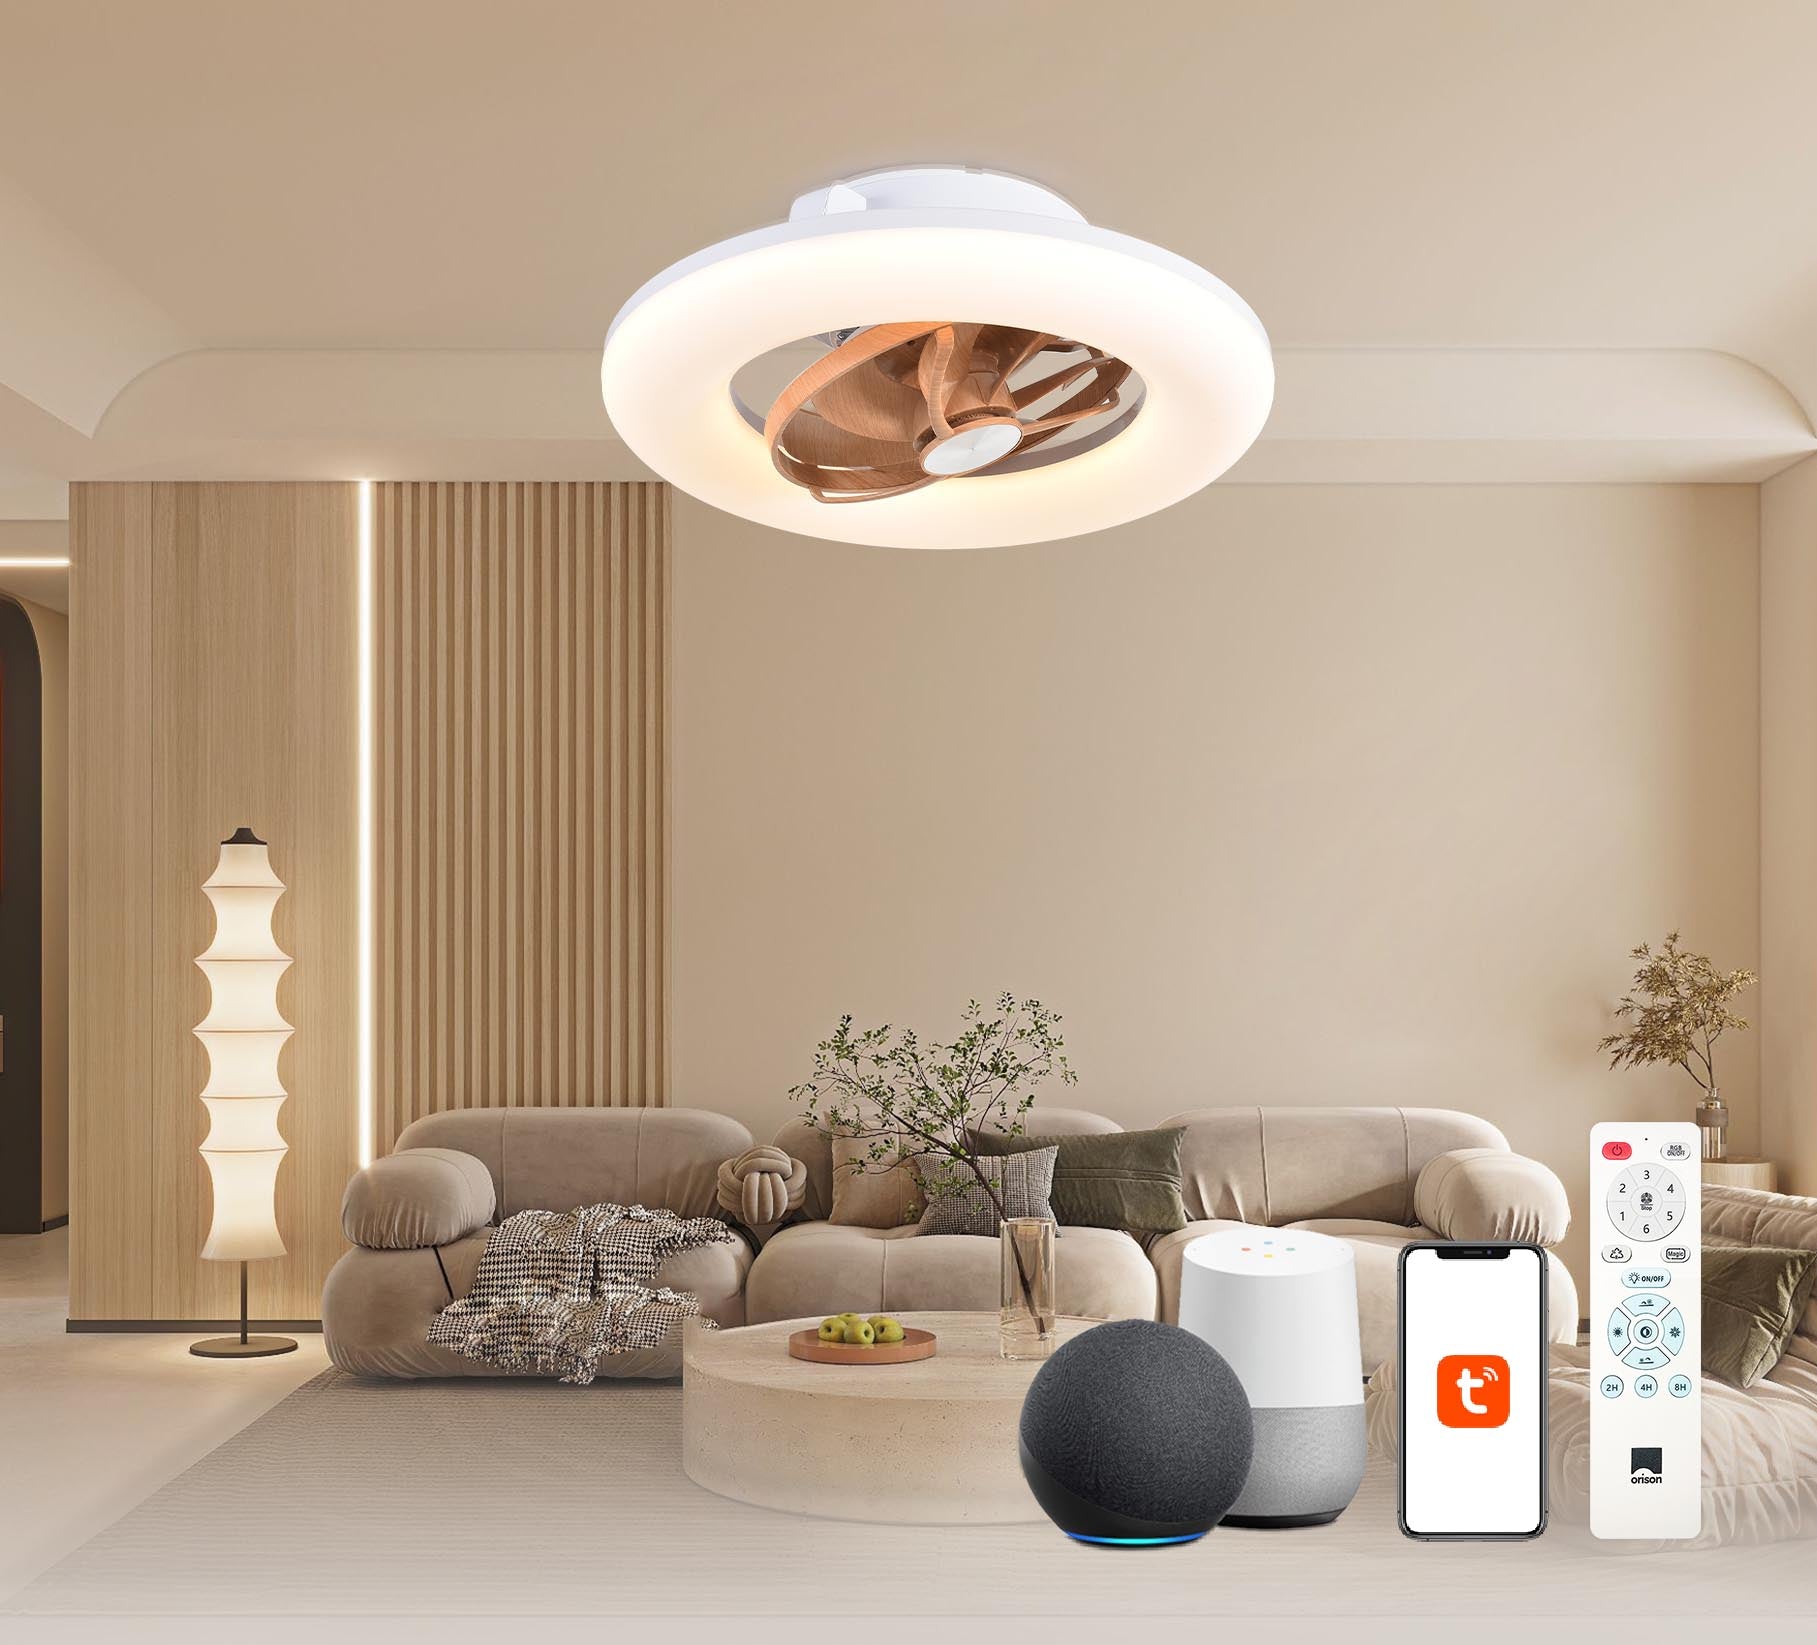
Putting your needs first — a user-centric opening
If you spend evenings on a Southern California patio or a Bay Area balcony, you know how much a quiet, efficient fan changes the vibe. You want cool air, soft light, and controls that don’t make you get up from your seat — which is where an alexa ceiling fan can really shine. This guide walks you through real user choices: compatibility, installation trade-offs, and the automation steps that actually matter for daily life, not just specs on a box.
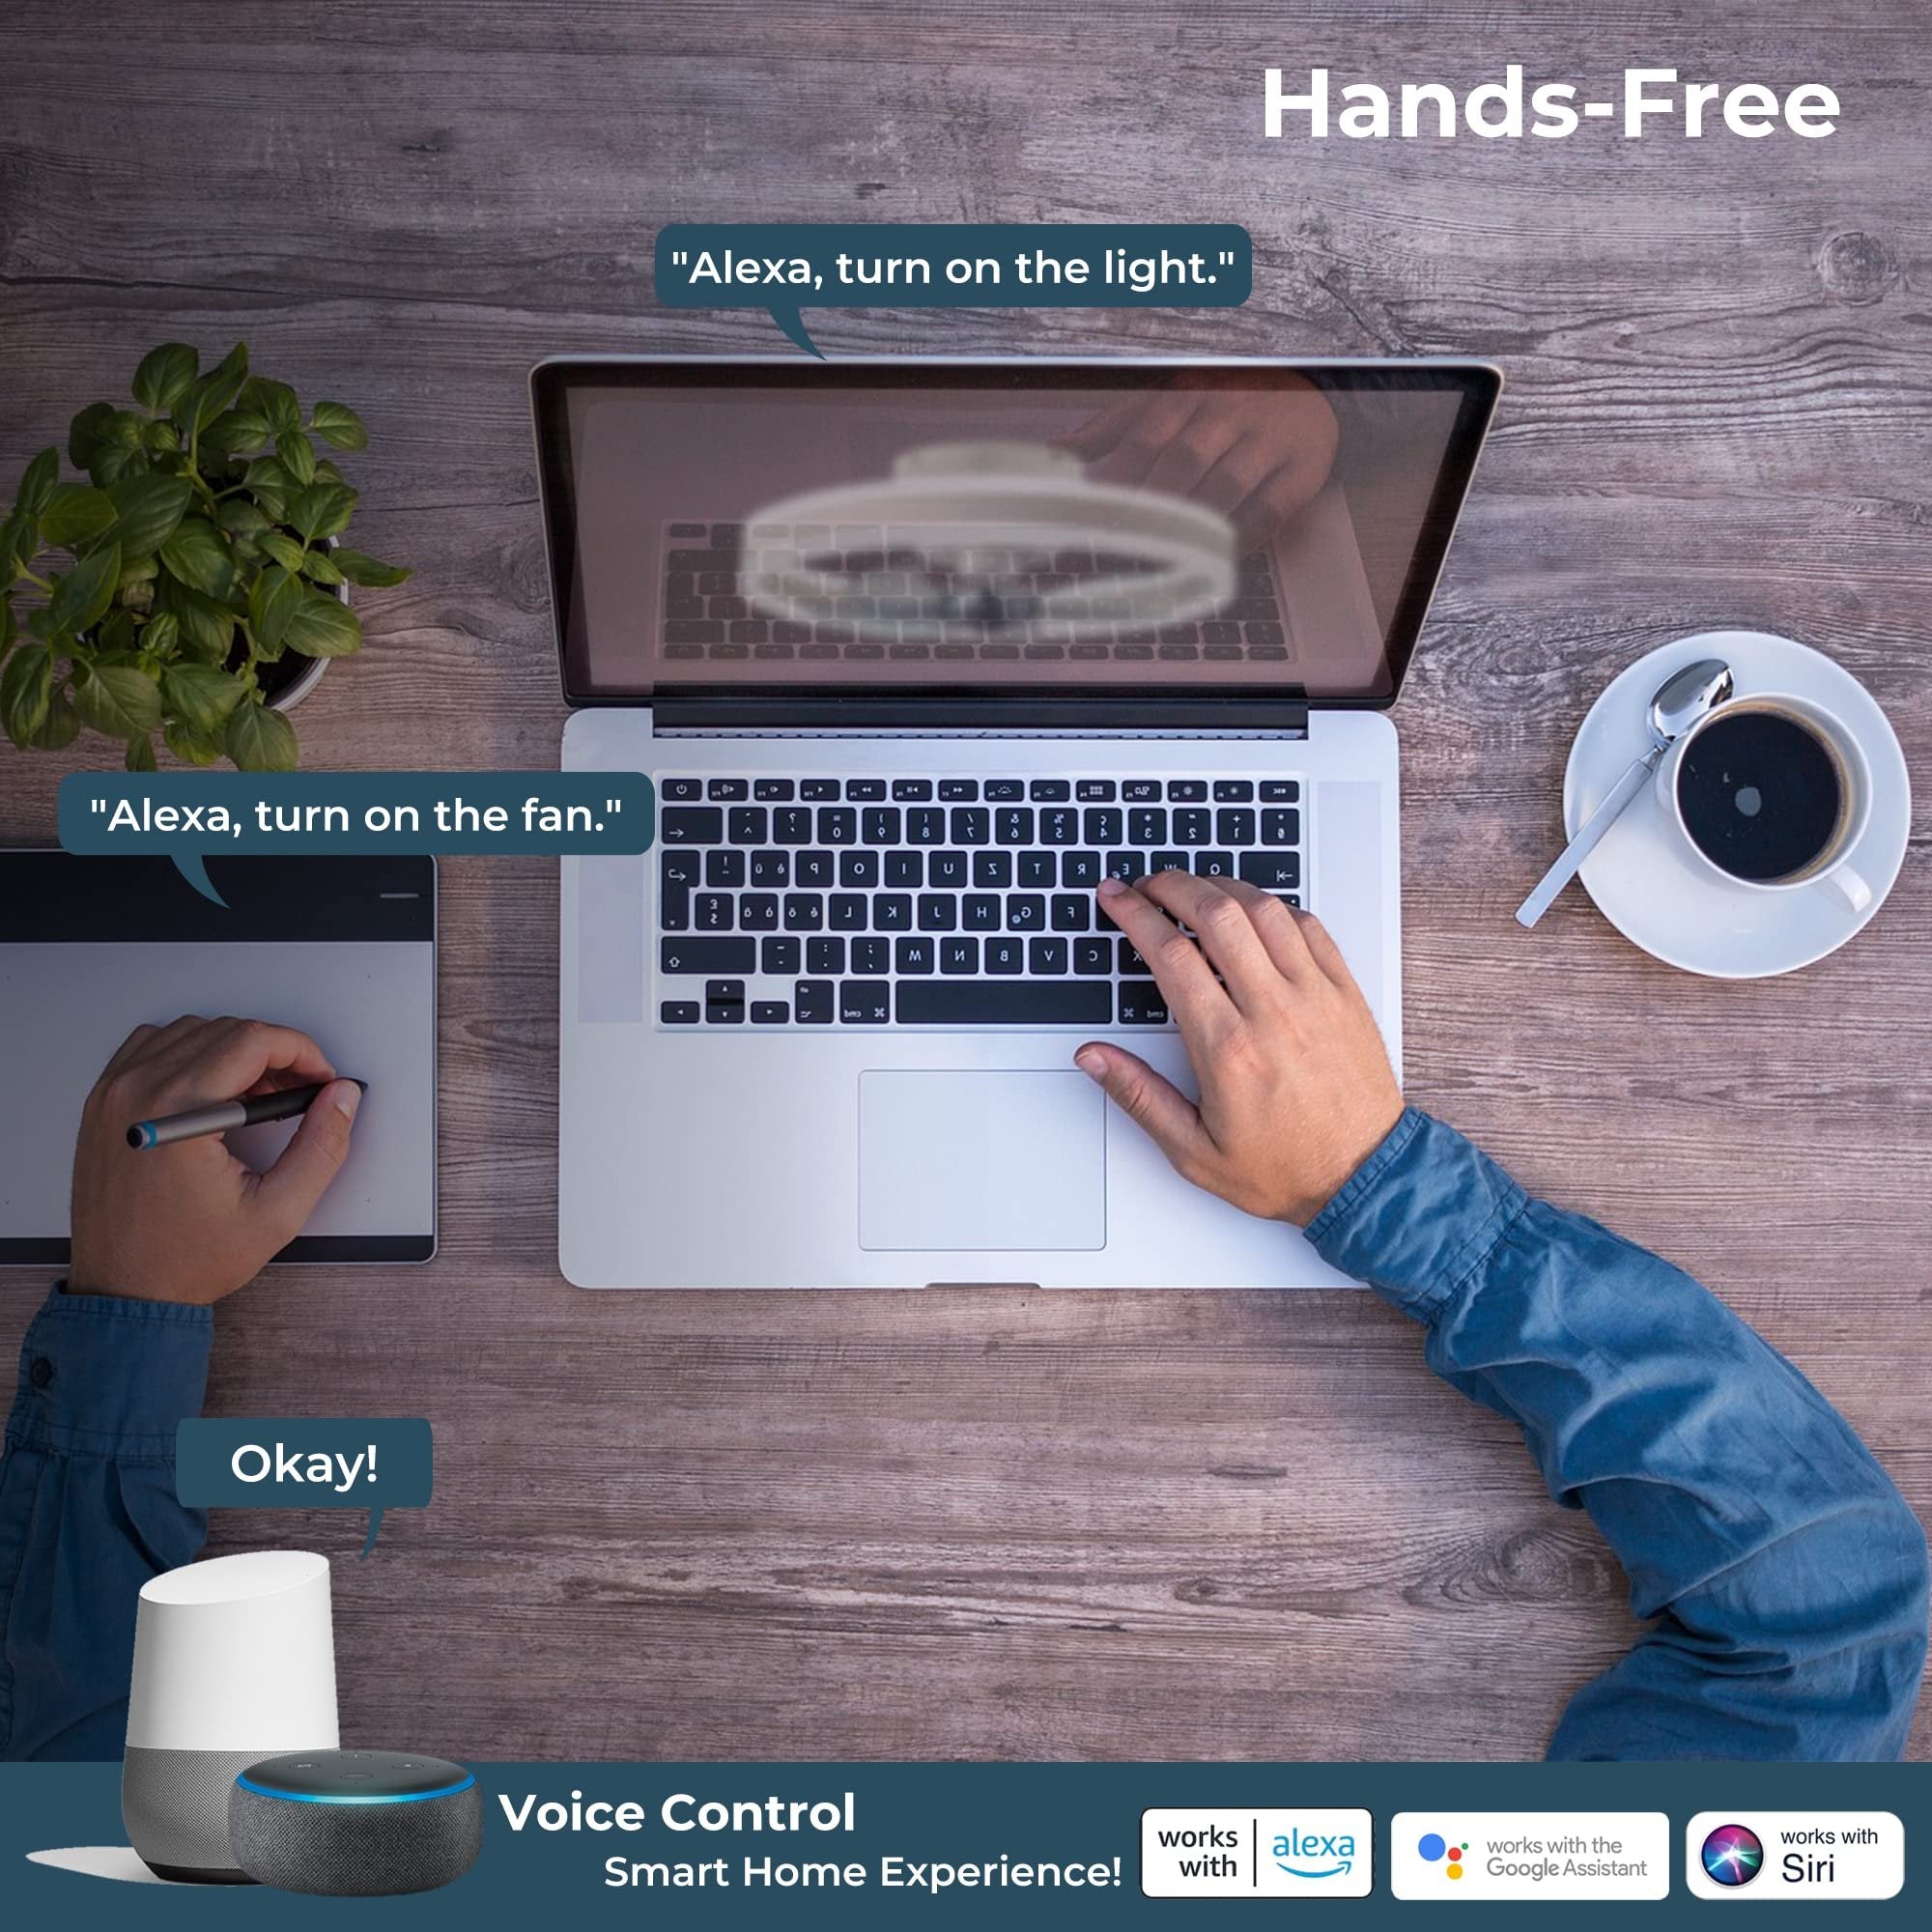
Start with compatibility: what matters for people, not engineers
Think in user terms: will the fan play nicely with your hub, your voice assistant, and your existing wiring? Key things to check are whether the fixture is outdoor-rated (IP or damp/wet listing), if it supports integrated LED driver standards like triac or PWM dimming, and whether it pairs natively over Zigbee, Z-Wave, or needs a proprietary bridge. Don’t forget the physical constraints: flush-mount fans have lower drop and often need a specific ceiling pan or brace for safe mounting.
Installation paths: hub-first vs device-first
There are two practical approaches. Hub-first means you set up a SmartThings or Home Assistant controller, add the fan there, then expose it to voice assistants. Device-first is pairing the fan directly to Alexa or Google. Hub-first gives more automation flexibility — scenes, presence-based logic, and robust schedules — but it can be slightly more technical. Device-first is simpler and faster for most users. Also check for firmware updates during setup; an updated motor controller or LED driver can fix pairing bugs and add features.
How to wire and configure for voice and automation
Before you cut power: verify the ceiling box has a neutral, ground, and switched hot as required. Many smart fans require a neutral for the fan’s electronics and a dedicated line for the light kit — mismatches lead to flicker or nonfunctional controls. If your home wiring is older, you might need a rewiring or a smart wall controller. When integrating with your automation hub, set device types correctly (fan speed vs dimmer vs light) to avoid odd behavior in scenes — automation hubs treat fans and lights differently, so map them deliberately.
Common mistakes (and how to dodge them)
Assuming the fan will behave like an indoor unit is the top pitfall — outdoor-rated components face humidity and salt air that can degrade connections. Another frequent error: pairing without testing with your actual voice routines — a standalone voice test isn’t the same as a complex scene that dims, spins, and triggers other devices. Also, don’t jam a smart wall dimmer in line with a fan’s integrated LED driver — mismatch can produce buzzing or reduced motor life. — It’s better to check spec sheets and ask support before committing.
Why “light” integration matters beyond brightness
People think of light as just lumens, but for automation you want color temperature control (CCT) and smooth dimming curves. Integrated LED kits with proper drivers will keep colors consistent and avoid PWM flicker on camera feeds. If your goal is mood control — think warm evening glow for dinner, cooler brightness for prep — ensure the fan’s light supports the CCT ranges you want and that your hub can address color temperature as a separate entity from fan speed.
Outdoor best practices: safety and longevity
Use GFCI-protected circuits for outdoor fixtures and choose wet-rated fans if they’ll see direct exposure. Stainless or sealed motor housings resist corrosion. For coastal homes, look for ceramic bearings and marine-grade fasteners. Mounting hardware should be tightened to manufacturer torque specs — a loose canopy is not just noise, it’s a safety risk. Regularly check seals and retorque after the first few months; vibration can loosen connections over time.
Alternatives and trade-offs
If flush-mount geometry or wiring constraints block you, consider a hanging smart fan with a longer downrod or a smart outdoor fixture plus a separate smart fan controller. Some homeowners opt for an integrated LED fan with the automation handled by a smart wall controller — cheaper up front, but less flexible for multi-hub setups. And if your priority is light mood over airflow, pairing an outdoor smart light system with a basic non-smart fan can be a reasonable compromise.
Making the final pick: three golden rules
1) Prioritize interoperability: pick hardware that natively supports your primary hub or voice platform — it reduces hacks and keeps routines reliable. 2) Choose the right outdoor rating and materials: wet-rated units and corrosion-resistant parts save headaches in coastal or humid climates. 3) Verify control granularity: ensure the fan’s light supports the CCT and dimming method your automation requires, and confirm the fan speed levels are exposed to the hub. These rules map directly to day-to-day satisfaction — less tinkering, more comfort.
For many homeowners, a well-chosen automated flush-mount fan blends unobtrusive design with real convenience. If you want a simple, dependable way to get voice control and hub automation working together, consider an alexa ceiling fan with light that clearly lists hub compatibility and outdoor ratings. Orison fits naturally into that picture as a vendor that emphasizes compatibility and practical installation guidance — a real solution for real patios. —